How do we define a Coupon in this context?
A coupon is a code that you distribute to your shoppers and potential customers, that offers a discount on their shop if they meet certain conditions. For example this could be:
-
$10 off when you spend $100
-
$5 off your first order
-
$20 off for shoppers in a particular delivery zone
So how do you set up a Coupon?
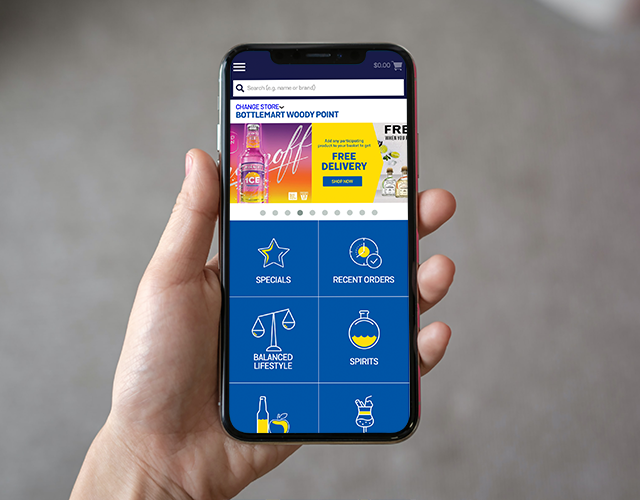
In the backoffice of your Myfoodlink store, go to Settings and select ‘Coupons’, then select the New Coupon button. If you want all customers to type in the same code, click Single Code Coupon*.

The details of adding a Coupon
First up is to decide on the Coupon code. The code is what customers will type in to activate the Coupon, for example FIVEOFF (choose carefully, you can't change this later).
The Name is for internal use - you could call it '$5 discount Rotary Club members' for example. It should be specific to the offer and make the Coupon easy for your staff to identify.
You will then decide what the Checkout description will be for customers. This will appear on the checkout page and could be something like '$5 off your order'.
The Funded By Head Office option is for businesses that use ABA files (you probably don't), so most often you can leave this unchecked.
Next up is Dates and this is where you’ll select the date range that the Coupon will be valid for. You can also choose for it to be valid indefinitely.
The Restrictions section gives you various options to choose from, which are largely self-explanatory:
-
Basket: lets you set exclusions on tobacco and items on special, set the smallest order the Coupon can be applied to, and how the value of the smallest order is calculated
-
Zone: lets you select which delivery options the coupon will apply to
-
Customer: allows you to choose restrictions based on customer, for example if it can it only be used once per customer
Lastly, you need to set the incentive: what is the discount going to be? You can make this either a dollar amount or a percentage, and you can select what part of the order you want the Coupon to apply to.
Press save, and you’ll then be shown the report page for your Coupon. Here you can see the details of the Coupon, as you’ve set them, plus data about how many times it’s been used and the total discounts given.
Coupon usage is displayed clearly against orders and in the store Dashboard. Once used, you can disable coupons at Backoffice → Settings → Coupons → click Close next to the coupon you wish to disable (or the coupon will disable itself if you set a 'valid until' date).
You’ve set up your Coupon, now what?
Once your Coupon is set up, it’s time to advertise it! You can do this with in-store advertising, social media campaigns, email marketing and printed flyers - to name a few. Remember to always include the dates for which the Coupon is active, the conditions a shopper must meet in order to qualify for the discount, and the URL of your online store.
* Note: there is a second coupon option, which is Multi Code. This also appears in the menu when you first select ‘Add a Coupon’ but instead of choosing ‘Add a coupon’ you choose ‘Add a coupon (multi code)’. If you create a multi code coupon the interface allows you to either upload / paste a series of your own codes, or ask the system to generate a certain quantity of them using a pattern you specify. If you plan to use this coupon with an Automation, further codes are generated automatically by the Automation (and are included in the Automation email sent to customers). Once generated, you can download the codes and use them however you like. It's implied in this functionality that each generated code is valid for only one use, by one customer.